Kundencenter Webspace Counter/en
Aus EUserv Wiki
| Zeile 53: | Zeile 53: | ||
<br> | <br> | ||
=== Counter edit/delete=== | === Counter edit/delete=== | ||
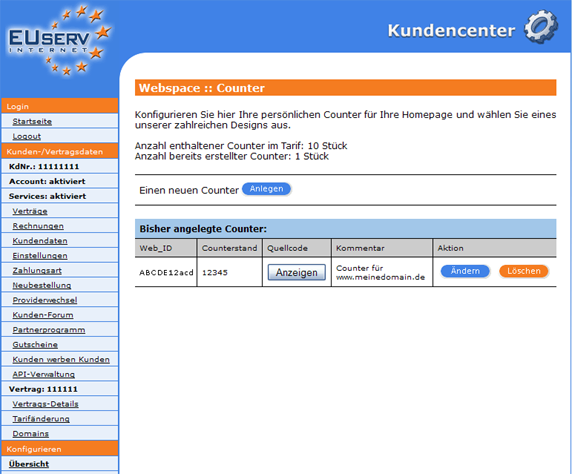
| + | Options to change in retrospect, click on the overview page "counter" to the right of the desired counter to "Change". Do you want to delete a counter again, just click on "Delete". | ||
| + | <br> | ||
| + | <br> | ||
| + | <center> | ||
| + | [[Datei:Counter_bearbeiten_572x.png]] | ||
| + | </center> | ||
| + | <br> | ||
| + | <br> | ||
Version vom 09:37, 25. Sep. 2012
| | Languages: |
Deutsch |
Creating counters
Inhaltsverzeichnis |
Creating counters
General
If you own a web space EUserv deal, you have the option of using counter for your website.
A Counter is a visitor. He counts and displays the number of times your home page was visited.
Counter
In EUserv Customer, you have the option to create Counter.
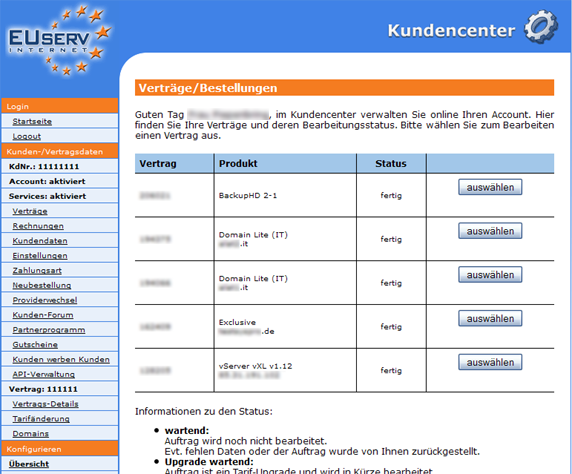
Choose from your webspace first contract for which you want to create the counter.
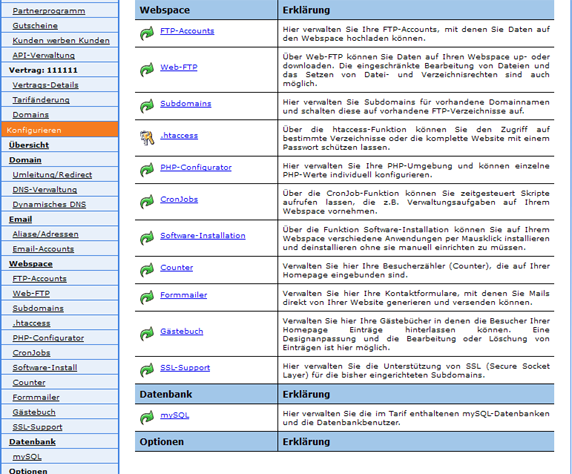
Once you have selected your web space treaty, now click on the menu item "counter" under webspace.
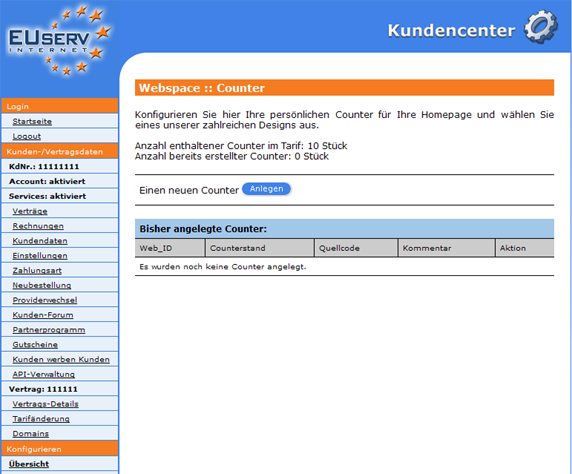
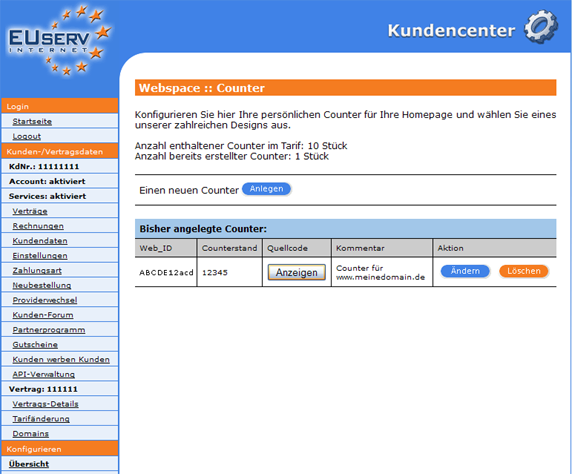
Here you can set up your webspace tariff counter. The overview "Counter" you down to how many counters you have in your plan are available, how many counters you have already created that timing, the individual counters and what status they have. By clicking on "Create" under "a new Counter" to go to the appropriate menu.
Counter Set Up
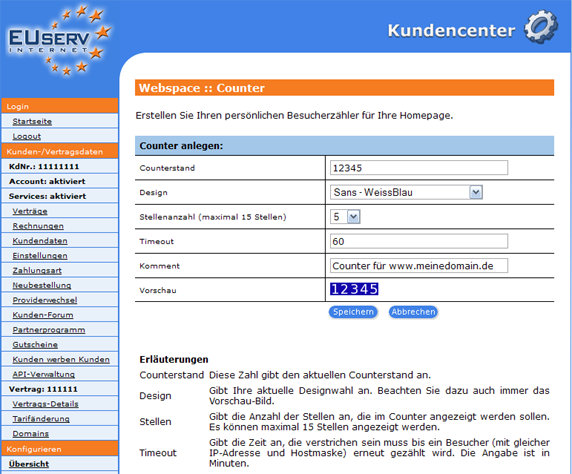
In this part of the Customer EUserv you can create the desired counter. In "Counter status", you can "pre-turn" for the counter example continue a recent Counter. Use the drop down menu "Design" you can choose from one of our Numerous designs that suits you. The "Digits" is the number of digits to be displayed in the counter. A maximum of 15 digits. In the field "Timeout", you can specify how much time should pass in minutes to one and the same visitor to your site enters again in the counter statistics. With "Comment" You store a personal note for Oneself Below you can see a live preview of your entries made so far. Clicking on "Save" to confirm your settings. On the overview page of the Counter appears in the table. The fact indicated WEB_ID ensures that every page visit is automatically assigned to the right counter. This WEB_ID is also found in the source code of the counter again, you get when you click "View" under "Source" button and copy it into your website source code.
Counter edit/delete
Options to change in retrospect, click on the overview page "counter" to the right of the desired counter to "Change". Do you want to delete a counter again, just click on "Delete".

