Manual Erstellung Dynamische DNS/en
Aus EUserv Wiki
| | Languages: |
Deutsch |
Creating and administration of a dynamic DNS
Inhaltsverzeichnis |
Creating and administration of a dynamic DNS
Creating, modifying, deleting a dynamic DNS domain and retrieving access data
Creating the dynamic DNS domain
- Log in to the customer center.
- Select your contract.
- Click Dynamisches DNS in the right menu.
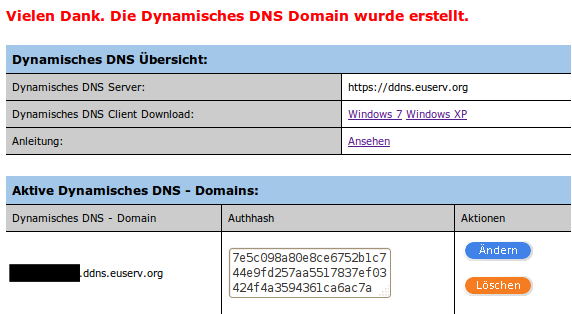
- Choose the according domain under Dynamisches DNS Domain erstellen:
- Click the Anlegen button.
Now you can see the the created dynamic DNS domain under Aktivierte Dynamisches DNS - Domains.
Modifying the dynamic DNS domain
- Navigate to the Dynamisches DNS area.
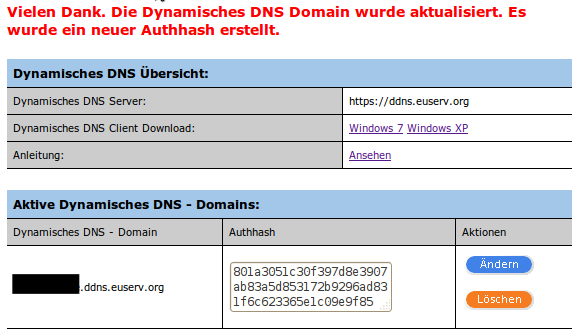
- In the area Aktive Dynamisches DNS - Domains (right to the desired dynamic DNS domain) click the Ändern button in the Aktionen section.
Now you can see that the Authhash of the dynamic DNS domain has been updated.
Deleting a dynamic DNS domain
- Navigate to the Dynamisches DNS area.
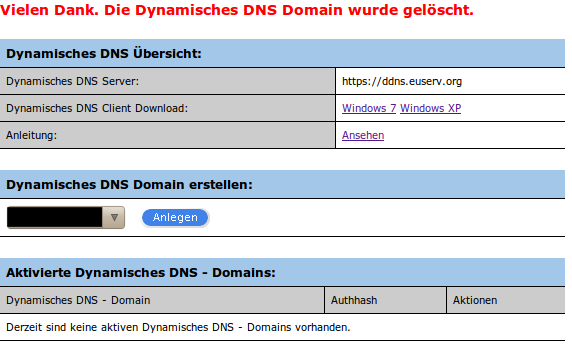
- In the area Aktive Dynamisches DNS - Domains' (right to the desired dynamic DNS domain) click the Löschen button in the Aktionen section.
Now you can see that the dynamic DNS domain has been deleted.
Using a dynamic DNS domain with the clients
Getting and installing the client
- Log in to the customer center.
- Select the according contract.
- Click Dynamisches DNS in the right menu.
- Download the client for your operating system. You will find the download links right to Dynamisches DNS Client Download:.
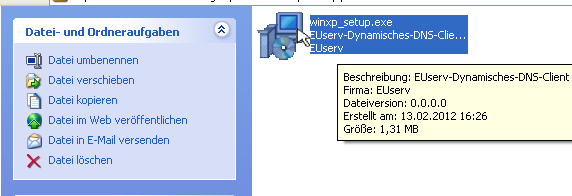
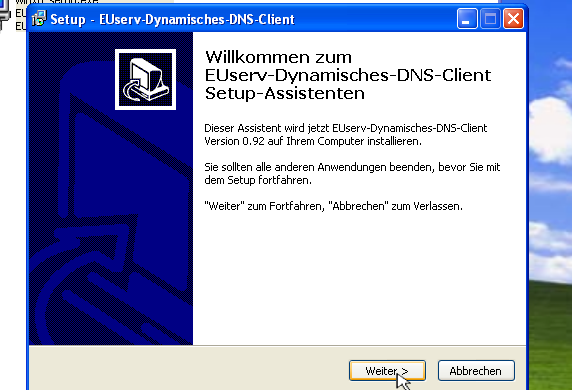
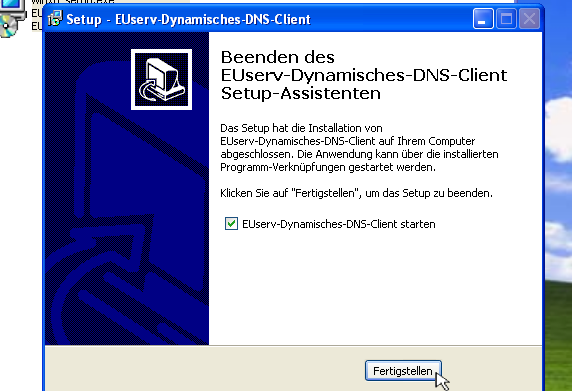
- Run the setup program on your PC.
- Click Weiter.
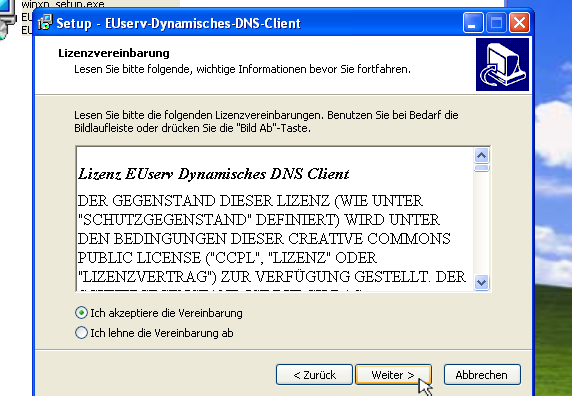
- Read the licence agreements. Click left to Ich akzeptiere die Vereinbarungen. Click Weiter.
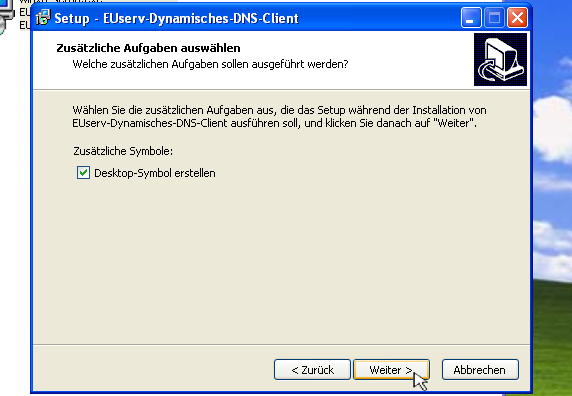
- Click Weiter.
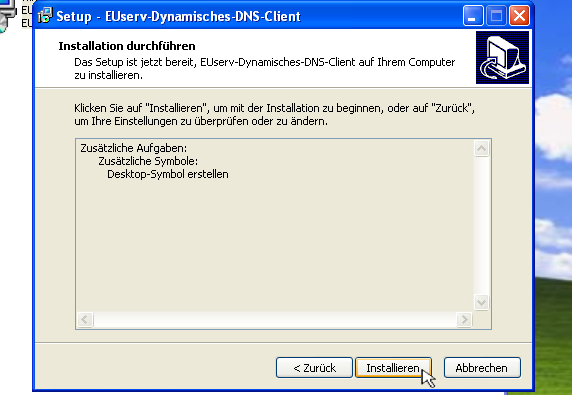
- Click Installieren.
- Click Fertigstellen.
Retrieving access data and starting the update
- Log in to the customer center.
- Select the according contract.
- Click Dynamisches DNS in the right menu.
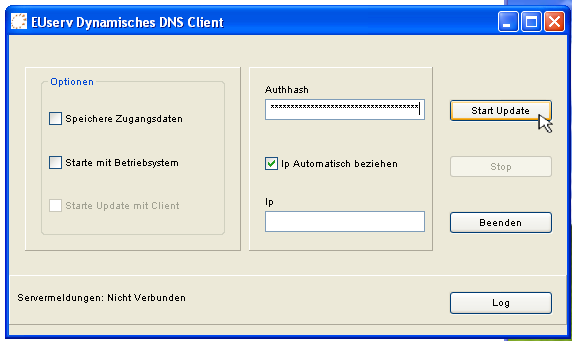
- Copy the Authhash of the desired dynamic domain.
- Paste the Authhash in to the clients Authhash field.
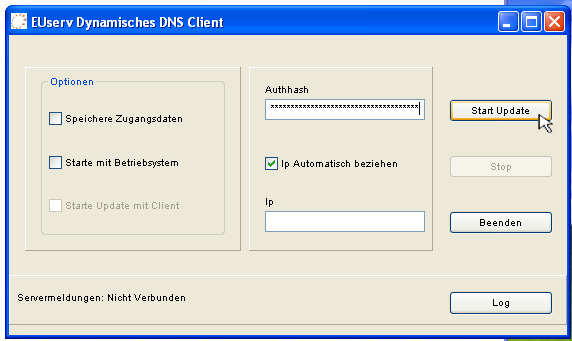
- Click the 'Start Update' button.
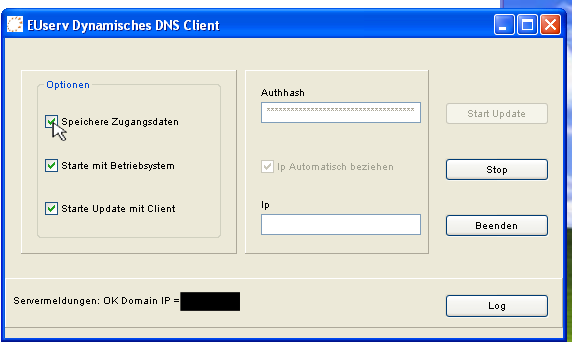
Now you can minimize the client via X.
Client's options
- Speichere Zugangsdaten saves the access data, so they don't have to be entered again.
- Starte Client mit Betriebssystem starts the client together with the OS.
- Starte Update mit Client starts the update of the dynamic DNS domain when starting the client.
Using dynamic DNS domain under CURL
Retrieving access data and conducting the update
- Log in to the customer center.
- Select the according contract.
- Click Dynamisches DNS in the right menu.
- Copy the URL right from Dynamisches DNS Server:
- Copy the Authhash of the respective domain.
- Open a console.
- Enter a command according to the following patern:
curl --insecure "DYNAMIC_DNS_SERVER/?ah=AUTHHASH"
Use the current dynamic DNS server from the customer center instead of DYNAMIC_DNS_SERVER and the current Authhash from the customer center instead of AUTHHASH.
- Confirm with ENTER.
- In case you want to use a customized IP please use the following pattern:
curl --insecure "DYNAMIC_DNS_SERVER/?ah=AUTHHASH&ip=YOUR_IP"
Use the current dynamic DNS server from the customer center instead of DYNAMIC_DNS_SERVER and the current Authhash from the customer center as well instead of AUTHHASH. Use the dsired IP instead of YOUR_IP.
If everything has been entered correctly you will receive a message from the dynamic DNS server in the following format:
OK Domain IP = CURRENT_IP
Where CURRENT_IP represents your current IP.
The update can also be conducted via a cron-job of course.
Route (Sub-)Domain to Dynamic DNS Domain
Via DNS-Managment in EUserv customer panel you get the opportunity to route your (Sub-)Domain to your Dynamic DNS Domain by setting a CNAME-entry. Please proceed as follows:
- Log in to EUserv customer center:
- Select the according contract:
- Click DNS-Administration in the menu:
- "Domain name:" Select your Domain:
- "Value to resolve (Host name, e.g. "www"):" Enter your preferred (Sub-)Domain
- "Entry type:" Select "CNAME":
- "Target (Host name, IP etc.)": Enter your Dynamic DNS Domain:
- Click the button "Create" to complete configuration of the DNS entry

Now your (Sub-)Domain is routed to your Dynamic DNS Domain.
Please note:
It might take 24h until your DNS entry will be adopted by all worldwide DNS-Servers. German DNS-Servers are mostly already after 12h up to date.


