Manual Einrichtung Proxmox/en
Aus EUserv Wiki
(→Assign IP's with KVM) |
Root (Diskussion | Beiträge) |
||
| Zeile 1: | Zeile 1: | ||
{{Languages|Manual Einrichtung Proxmox}} | {{Languages|Manual Einrichtung Proxmox}} | ||
| - | [[Kategorie: | + | [[Kategorie:Operation systems and Software]] |
'''''Setting up Proxmox on your server''''' | '''''Setting up Proxmox on your server''''' | ||
__TOC__ | __TOC__ | ||
Version vom 11:12, 5. Okt. 2012
| | Languages: |
Deutsch |
Setting up Proxmox on your server
Inhaltsverzeichnis |
Setting up Proxmox on your server
Web Interface
To reach the web interface of Proxmox, point your browser to the IP address of your server. If this does not work, it may be necessary, a :8006 to be appended to the address. Here you can sign in with your 'Username' and 'Password'.
Creating a Virtual Machine
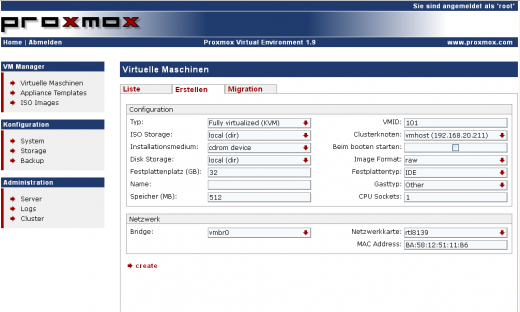
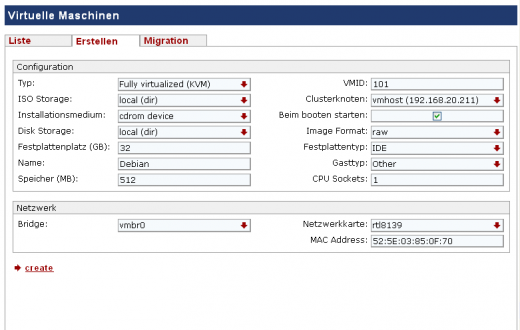
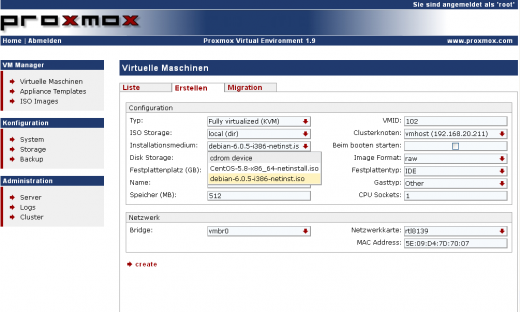
With Proxmox you have the possibility to create virtual machines. Proceed as 'VM Manager' to 'Virtuelle Maschinen'. Now click on the tab 'Erstellen'. You can make a preliminary configuration of your unit:
| Configuration | Setting |
| Typ: | Here you specify the type of VE. Standard is fully virtualized (KVM) |
| ISO Storage: | Here you can specify the path where your local ISO files. - default:local (dir) |
| Installationsmedium: | Here you can select an ISO image, which you want to include. This must be previously uploaded: Upload von Images |
| Disk Storage: | default:local(dir) |
| Festplattenplatz (GB): | Enter here in the GB on the size of your VE. |
| Name: | Enter a name for your virtual machine. |
| Speicher (MB): | Enter the amount of memory in MB for your VE. |
| VMID: | The identification number of your VE: |
| Clusterknoten: | The IP address of your host system. |
| Beim Booten starten: | Here you can select whether the VE will also start booting your Severs. |
| Image Format: | The image format. (default: raw) |
| Festpattentyp: | Enter the type of your hard disk. (default: IDE) |
| Gasttyp: | Please fill in your guest. |
| CPU Sockets: | Enter the number of your CPU socket, which will use the VE. |
| Network | Setting |
| Bridge: | Enter the bridge. (default:vmbr0) |
| Netzwerkkarte: | Enter the network card to be emulated. |
| MAC Address: | Here you can see the MAC address of your used VE. |
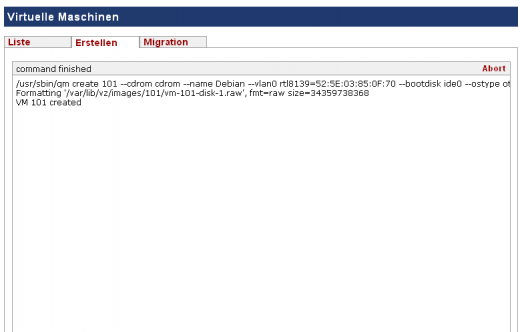
To create your virtual machine, click 'Create'.
Now the VE was created.
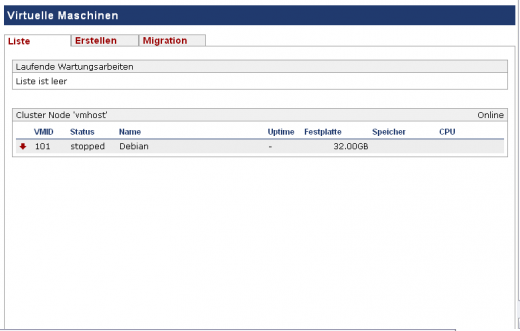
Click on the tab 'Liste'. Here you can see which virtual machines you have created.
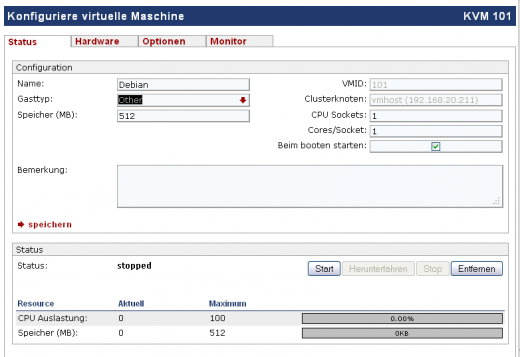
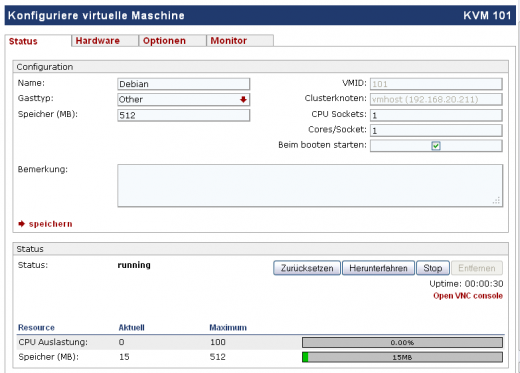
After you select one of the listed VM, you can start it now. Just click on the 'Start' button.
You can also follow this 'Zurücksetzen', 'Herunterfahren' or 'Stoppen'. By clicking on the appropriate button, the actions are executed.
Uploading Images
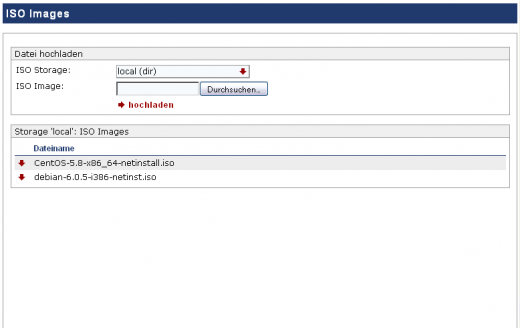
If you have a previously downloaded ISO image, it is possible that you can upload this under Proxmox. This image can then include in your virtual machine. Please proceed as follows:
If you now create a new virtual machine, choose the configuration option 'Installationsmedium:' from the uploaded image.
Assign IP's with KVM
If you created your VM's and using an ISO image installed operating systems, we have the next step to assign IP addresses to the guests. Therefore we assume a Bridged Networking Setup (s.o.) proceed as follows:
Log in via SSH into your server and enter the following command:
ifconfig eth0 | grep -m 1 inet
Then note that the "Bcast" and "Mask" IP addresses shown.
Finally, we need the address of the gateway. Enter the following command:
route -n
Crucial here is the line that begins with the address "0.0.0.0". Make a note of this line, stands under the "Gateway".
Now we can start the actual host configuration. Point your browser to the Proxmox web interface. Enter your server IP in the browser address bar or if it is not working "<Server-IP>:8006".
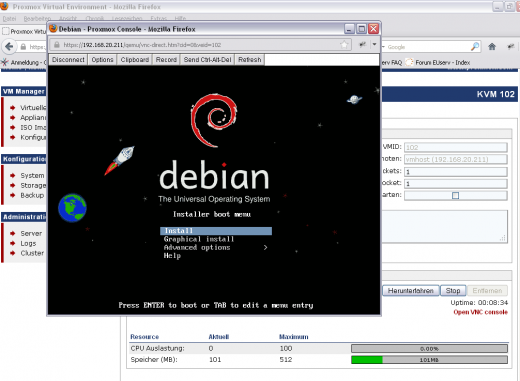
Now log in with your access and click on the left menu "Virtual Machines". Now select the VM from which you want to assign an IP, then you go to the bottom leftNow enter the command in the host system
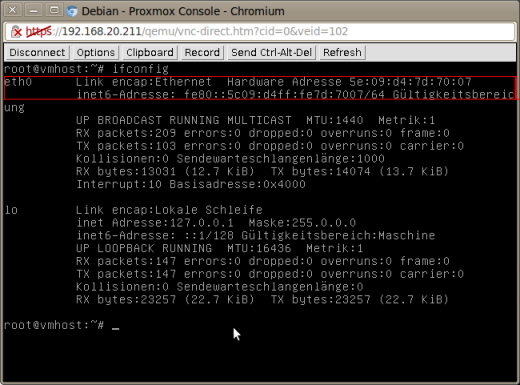
ifconfig eth0
The output should look something like this:
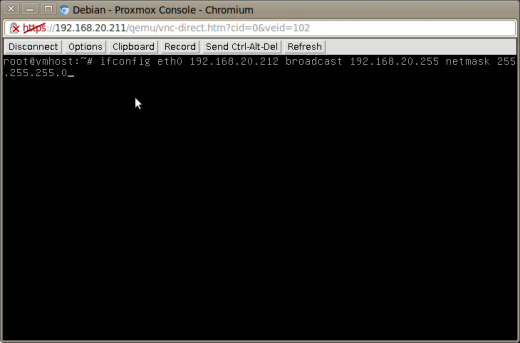
The network interface is not providing any IP assigned. For testing purposes, we will now make the adjustments manually. Enter the command
ifconfig eth0 <IP> bcast <Bcast-Adresse> mask <Netzmaske>
with the data that we have previously identified in the host system. For <IP> set of course the IP address that you want for the guest:
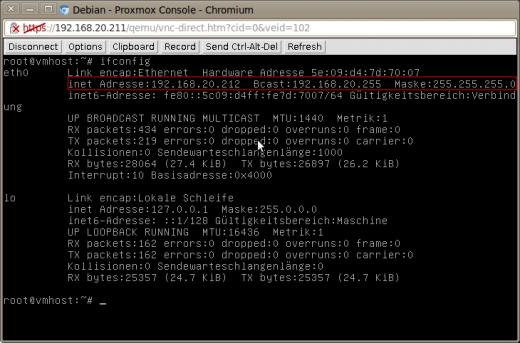
ifconfig eth0at the moment it should be spending approximately the following:
Finally, we are still running with the default gateway
route add default gw <GATEWAY>
Where <Gateway> is replaced with the address identified above.
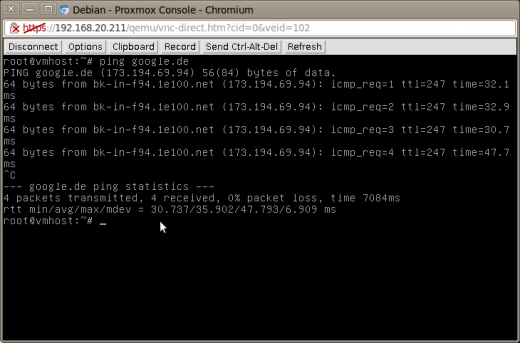
If we do such as a
ping google.de
in running we should get a positive result:
The configuration was successful, you can now set or that the settings will be applied after each restart the virtual machine. You can open an editor for Debian in the file/etc/network/interfaces and write in the following content:
auto eth0

iface eth0 inet static
    address <zu_vergebene_IP>
    netmask <Netzmaske>
    gateway <Gateway>
For CentOS we need to adjust the file/etc/sysconfig/network-scripts/ifcfg-eth0:
DEVICE=eth0
IPADDR=<zu_vergebene_IP>
NETMASK=<Netzmaske>
BROADCAST=<Bcast>
GATEWAY=<Gateway_HostSystem>
ONBOOT=yes
BOOTPROTO=none
Adjust the values of your settings accordingly. After a restart the VM should now be provided with the appropriate IP address and have full connectivity.


