Guide OpenXenManager/en
Aus EUserv Wiki
| | Languages: |
Deutsch |
Guide OpenXenManager
Inhaltsverzeichnis |
Guide OpenXenManager
General
For Linux users the open source solution "openxenmanager" is available to to manage virtual machines with XenServer. The developers of openxenmanager wanted to replicate the original XenCenter client for Windows as possible. Openxenmanager provides the same functions as the XenCenter.
Installation and first steps
To use openxenmanager, you first should have XenServer 6.1 installed on your system. This can be done in the EUserv customer service center. Choose your server contract. Click on the left menu on "Re-Install" and choose the entry "Xenserver 6.1 - 64 Bit - standard" of the operating system list. Setthe hook by "Bestätigung Reinstall". After approximately 30 minutes the installation should be completed and the server is available.
To install openxenmanager, Python and SVN must be installed. These can be installed with the following command:
sudo apt-get install subversion python-glade2 python-gtk-vnc
Additionally the program will be received of the SVN repository and started:
svn co https://openxenmanager.svn.sourceforge.net/svnroot/openxenmanager openxenmanager
cd openxenmanager/trunk
./openxenmanager
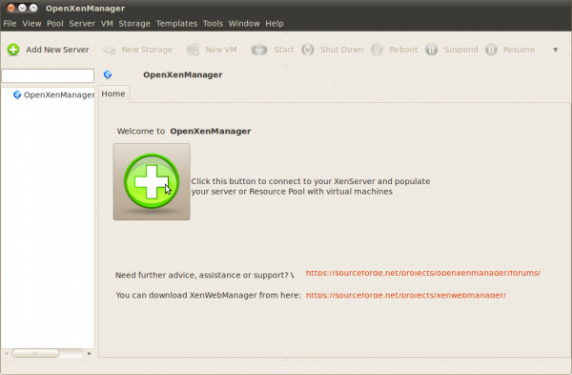
Now you can see the following window:
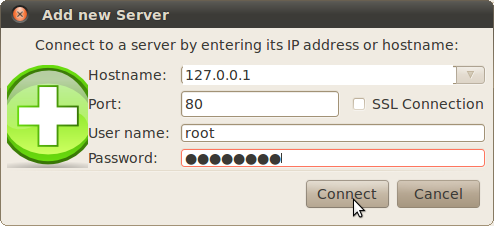
To connect to your server, click on the "+"-Button in the middle of the window. It appears a connection dialogue. Here you enter under Hostname the main-IP of your server and under Password the default server password. Both data you can find in the Euserv customer service center under Serverdaten, after you have chosen the relevant server conract:
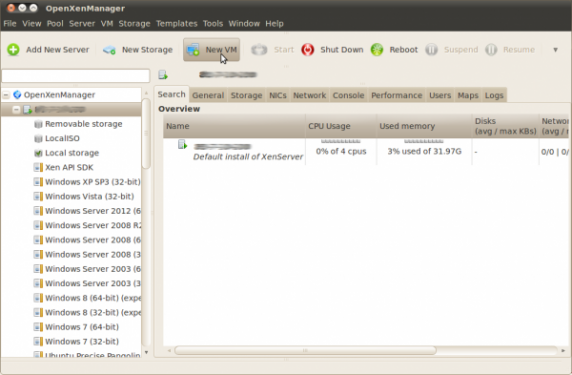
After the connection and synchronizing process with the server is completed, in the left part of the main widow your server appears with a view of the available operating system templates and the storage repositories (storage, which is reserved for the virtual machines):
Creating of a VM
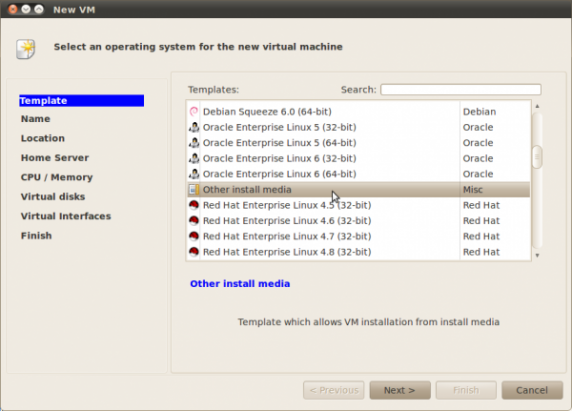
A Click on New VM in the upper menu bar starts the wizard for the creating of virtual machines. Following you can see the required steps for the creating of a virtual machine with the default supplied operation ssytem image of CentOS.
Choose under Template the entry Other install media and confirm with a click on Next:
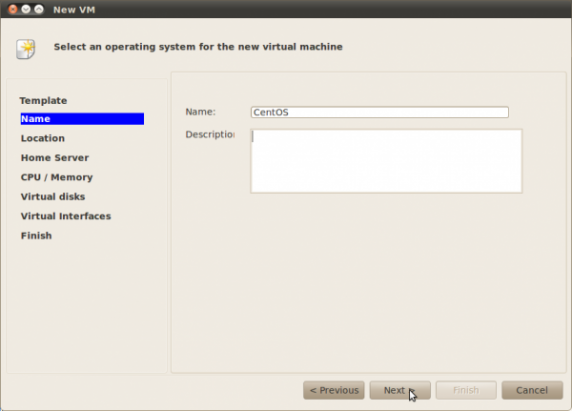
Now enter a meaningful name for the virtual machine and (optional) a short description of the VM and confirm with Next:
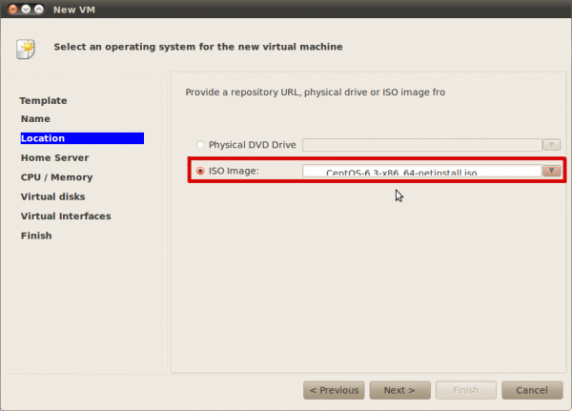
Now choose the installation medium type ISO-Image and the CentOS image of the dropdown menu. Confirm with Next:
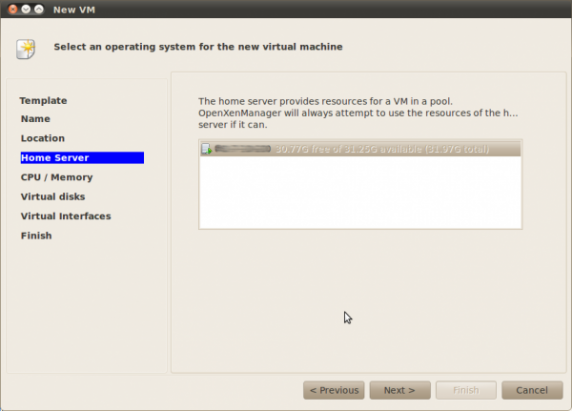
Choose under Home Server your server, which is shown in the list and confirm with Next:
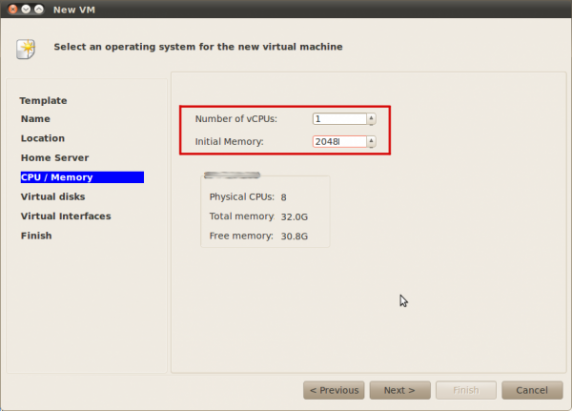
Assign the count of the virtual CPUs and the memory, which the VM should get. Pleace notice here, that the count of the virtual CPUs not exceeded the count of the physical existing CPUs:
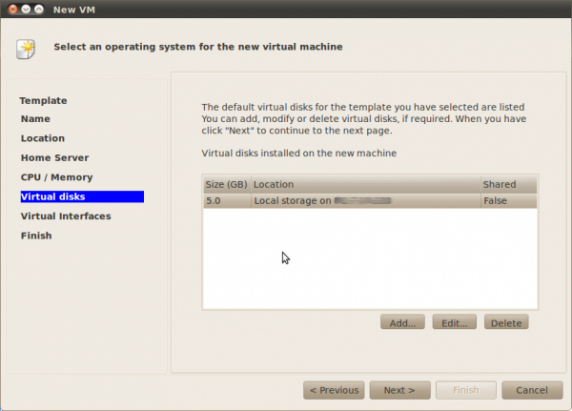
Now assign the size of the virtual hard drive. The default setting is 5 GB and is sufficient for a minimal instalation. With a click on Edit... you can customized the size. The space for the virtual hard drive is scooped of the storage respository:
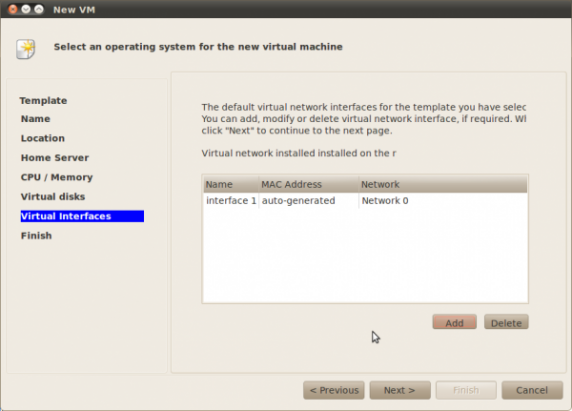
Finally it is necessary, to assign a virtual network to the VM. A click on Add creates an interface, that is affiliated on the Xen bridge of the first physical network card and so it has a connectivity. Please notice that you have an extra Ip address for the full connectivity.
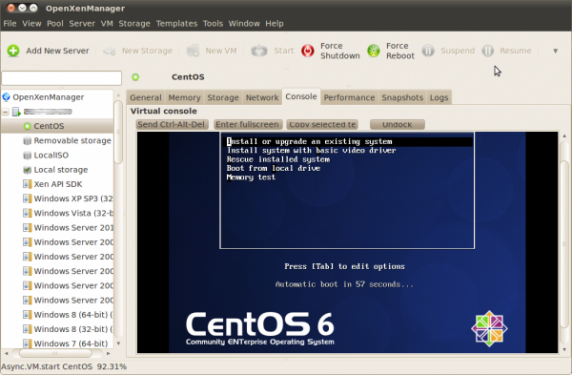
After a click on Next a summary appears with all specifications, which were set by the creating of the VM. A click on Finish completes the process. Now switch to Console on the right side of the window, to see the graphical output of the virtual machine:
Installation of the hostsystem
network configuration
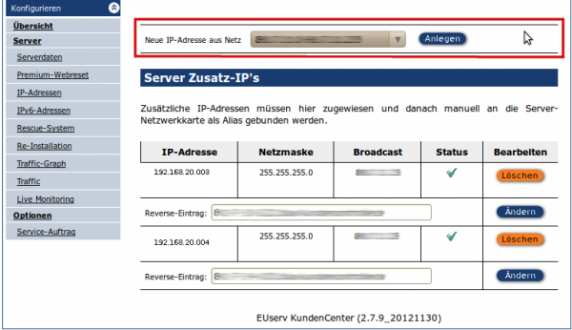
By installing of a netinstall medium (see example) the virtual machine needs network connectivity. The installer tries to get an IP-address via DHCP, so it can happen that the configuration of the network failed by a server with one IP. It must be assign a free IP to the VM, so the VM is reachable. This can be done in the customer service center. Login to the customer service center and choose your server contract. Click in the left menu on IP-Adressen:
Choose inside the installer during the paragraph Netzwerkkonfiguration the option Netzwerk manuell konfigurieren. Here you have to enter the relevant data (IP address, netmask and gateway). The presets for hostname and domain can be taken.
Partitioning
The partitioning can be done according to your wishes. But please notice to format the Boot partition with ext3, because the Xen bootloader pygrub can not boot the host.
Installing XenServer tools
With XenServer Tools Citrix provides a plugin for the performance monitoring of your virtual machines. Next to your VM the message XenServer Tools not installed should appear by default. Verify that your VM is powered off.
Choose the link XenServer Tools not installed. You have to insert the XenServer Tools image into the virtual DVD drive. Confirm this query and turn on the VM. If you are logged in, run the following commands (with root permissions):
mkdir /mnt/xs-tools
mount /dev/dvd /mnt/xs-tools && cd /mnt/xs-tools/Linux
./install.sh
After a successful installation you have to reboot the VM. This can be done with a right-click on the VM in the left menu and Reboot or with the command reboot inside the VM.
Under Performance you can see the capacity utilization graph for network, memory, CPU and the hard drives of the VM:
Creating a VM-clone
To keep the installation effort low and create identical virtual systems, you can clone an existing VM. So another virtual machine with the same specifications as the original will be created. The network configuration must be customized inside the cloned VM.
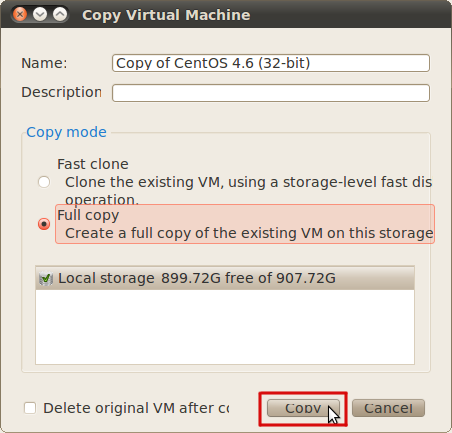
Verify that the VM is off. Right-click on the VM and choose Copy VM. The following window appears:
Here you choose Copy, what initialize the clone process.
Activating Free license
With the installation of XenServer starts a 30-day evaluation period, in which you can fully use XenServer. After the ending of this period the starting of virtual machines is no longer possible. But Citrix provides a 'free license', which is valid for one year and must be renewed afterwards. The activation is done in a few steps:
- Open the following link in your browser: http://deliver.citrix.com/go/citrix/xenserver_activation
- Enter the required information and press Submit
- Within the next 5 minutes you receive the license key via email with the file ending .xslic
- Save this file local
- Rename this file and move it to your server:
 mv license.xslic license
 scp license root@<Ihre-Server-IP>:/etc/xensource/
- Finally reboot your server or restart the xapi:
xe-toolstack-restart
So the license is activated and valid for one year.

