Kundencenter Webspace Gaestebuch/en
Aus EUserv Wiki
| | Languages: |
Deutsch |
Creating a guestbook
Inhaltsverzeichnis |
Creating a guestbook
General
If you have an EUserv virtual server plan, you have the opportunity to use guestbook for your homepage.
A guestbook is an option for your homepage, which the visitors of your website have the possibility to post a greeting, notes etc. The guestbook must be readable by all users. You should regularly check the messages for spam or similar.
Guest book
In the EUserv customer service center, you have the possibility to create guestbooks.
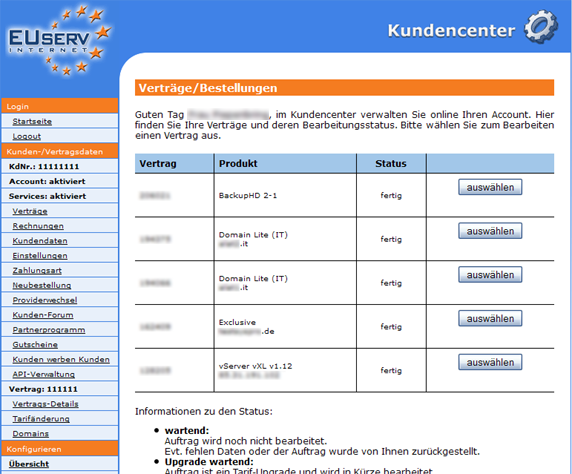
Choose your webspace contract for which you want to create the guestbook.
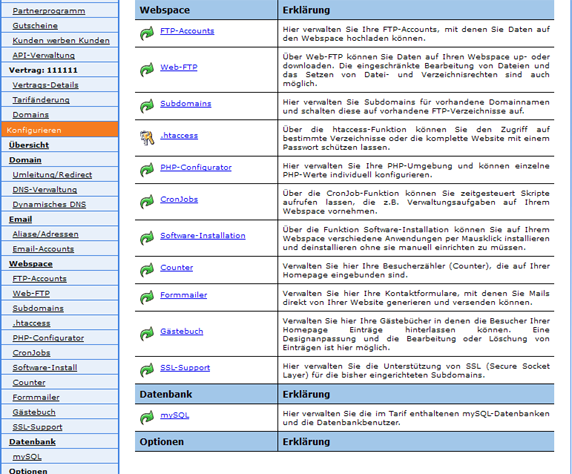
Once you have selected your webspace contract, click on "Gästebuch".
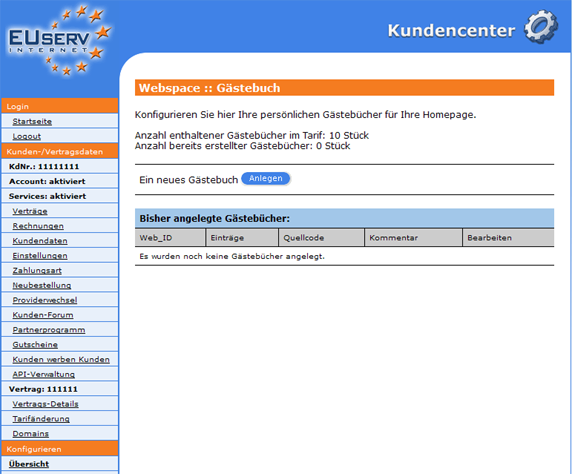
Here you can set up your webspace tariff guestbooks.
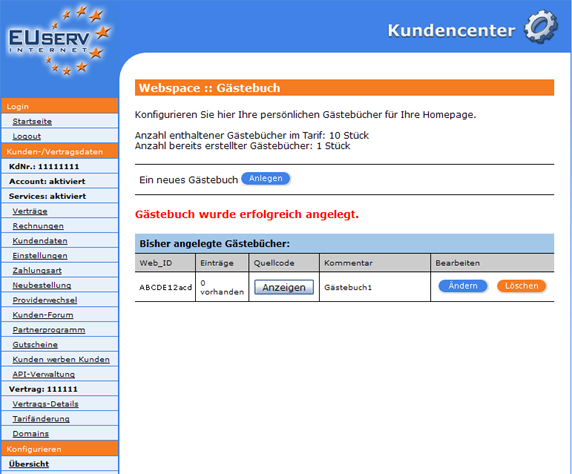
The overview page "Gästebuch" shows, how many guestbooks in your plan are still available, how many you have already created, how many entries for each guestbooks and a comment box where you can specify yourself a note.
By clicking on "Anlegen" below "Ein neues Gästebuch" to open the corresponding menu.
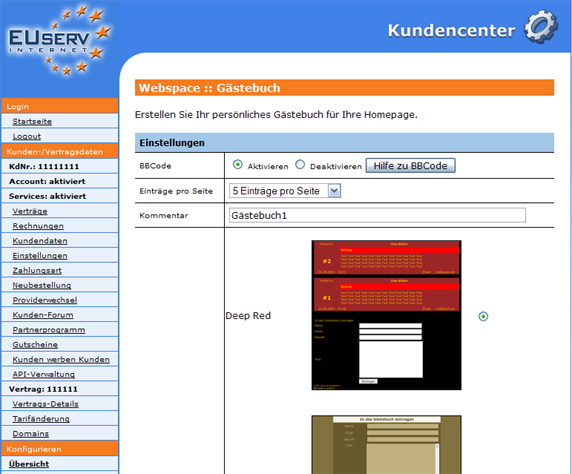
Setting up a guestbook
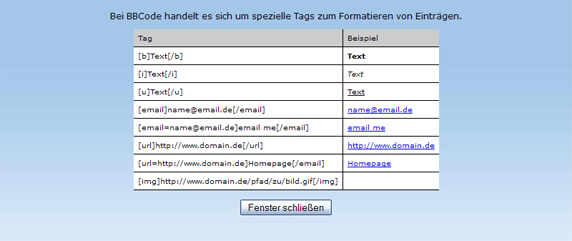
In this part of the EUserv customer service center, you can create the desired book. The option "BBCode" can be first activate or deactivate. BBCode supports the similar HTML code various functions such as the display of web addresses as hyperlinks and others. You get more information on BBCode by clicking on "Hilfe zu BBCode".
By using the drop down menu "Einträge pro Seite", you can choose 5 to 20 entries per page (scaling in 5 steps). You can define yourself also, how big the guestbook should be. This is just for orientation and evaluation from the relevance, such as with a large number per page that can be flown faster.
With a "Komment" you enter a personal note for yourself, to be able to identify every visitor's book right away. Below "Design" you can decide on one of our numerous designs. By clicking on "Speichern" to confirm your settings.
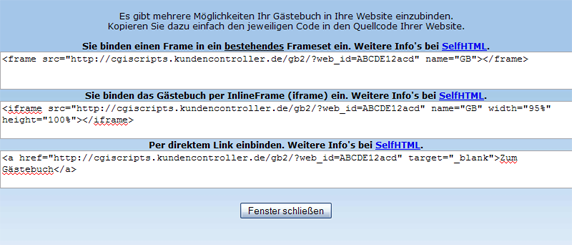
Now on the overview page of the guestbook appears in the table. The WEB_ID ensures that every page visit is automatically assigned to the right guestbook. This WEB_ID is also reflected in the source code of the guestbook, which you get if you click on "Anzeigen" below "Quellcode" and copy it into your website source code.
Editing/deleting a guestbook
In order to change the option, click on the overview page "Gästebuch" right next to the guest book on "Ändern". If you want to delete a guestbook again, just click on "Löschen".

